


If you’ve been dealing with water seeping into your home near the chimney, chances are your flashing is in need of repair.
But don’t worry! You don’t have to break the bank to fix it.
In this article, we’ll walk you through the steps to repair your chimney flashing, including how to identify signs of failure, the tools you’ll need, and the common causes of the problem.
So grab your tools and let’s dive into fixing that leaky chimney flashing!
Key Takeaways for Our Article: How to Repair Chimney Flashing
- Signs of chimney flashing repair include leaking chimney or water stains near the chimney, rust stains on the flashing or discolored bricks on the chimney, and water infiltration leading to structural issues and chimney fires.
- It is important to leave chimney flashing repair to professionals as they have the proper knowledge and experience for proper installation.
- DIY repair may offer cost savings and personal satisfaction, but professional repair ensures proper installation, saves time, and comes with guarantees.
- The cost of chimney flashing repair can vary based on materials chosen, and it is important to regularly maintain and waterproof the chimney to prevent further damage. Hiring professionals can lead to long-lasting repair and potential savings on water damage.
Signs of Faulty Chimney Flashing
If you notice a leaking chimney or water stains near the chimney, it’s a sign of faulty chimney flashing. These signs indicate that the flashing, which seals the gap between the chimney and the roof, isn’t doing its job properly. Ignoring these signs can lead to further water damage and expensive repairs.
One common mistake homeowners make is attempting to fix the flashing themselves. DIY solutions can often worsen the problem and result in higher repair costs in the long run. It’s best to leave chimney flashing repair to professionals with the necessary skills and experience.
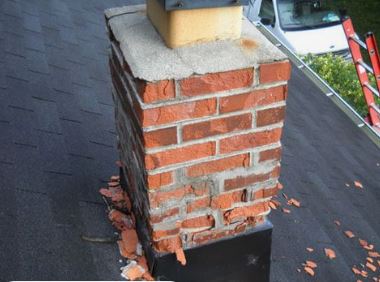
Signs of water damage, such as rust stains on the flashing or discolored bricks on the chimney, shouldn’t be taken lightly. They indicate that water is infiltrating the chimney system, which can lead to structural issues and chimney fires. To prevent further damage, it’s crucial to find a reliable contractor who specializes in chimney repairs. Look for licensed, insured contractors with positive customer reviews.
DIY Vs Professional Repair
When deciding between DIY repair and hiring a professional for chimney flashing repair, consider the complexity of the repair and the potential risks involved. Here are some key points to consider:
-
DIY advantages:
-
Cost savings: Doing the repair yourself can save on labor costs.
-
Personal satisfaction: Completing a DIY project can give you a sense of accomplishment.
-
Flexibility: DIY repairs allow you to work at your own pace and schedule.
-
Professional expertise:
-
Proper installation: Professionals have the necessary knowledge and experience for correct installation.
-
Time-saving: Hiring a professional can save time and effort, especially if you have limited construction skills.
-
Guarantee: Professionals often provide warranties or guarantees on their work.
-
Cost comparison:
-
While DIY repairs may save money upfront, improper installation can lead to costly repairs later.
-
Hiring a professional ensures the repair is done correctly the first time, potentially saving money in the long run.
When it comes to chimney flashing repair, weigh the advantages and disadvantages of DIY versus professional repair. Consider your construction skills, the complexity of the repair, and the potential risks involved. Prioritize the long-term durability and effectiveness of the repair.
Cost of Chimney Flashing Repair
To estimate the cost of repairing chimney flashing, consult with a professional or research average prices online. The cost can vary based on factors like the material chosen for the flashing. Common materials include aluminum, copper, and stainless steel, with copper being the most expensive and aluminum being the most affordable.
Regular chimney maintenance is crucial to prevent common issues like leaks and water damage. Waterproofing the chimney flashing is essential for prevention. Hiring a professional ensures a proper and long-lasting repair, saving money on potential water damage and extending the flashing’s lifespan.
Tools Needed for Chimney Flashing Repair
To repair chimney flashing, you’ll need the following tools:
- Safety harness and ladder: These are essential for accessing the roof and chimney safely.
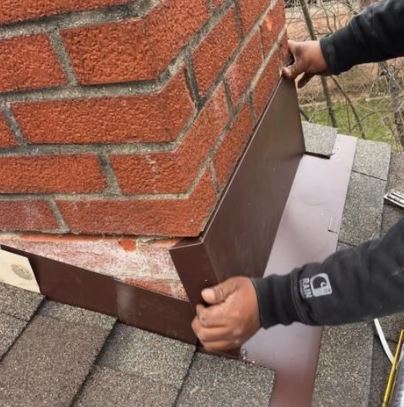
- Metal flashing: This material creates a waterproof seal around the chimney. Choose high-quality flashing for effective water prevention.
- Caulk: Use outdoor-specific caulk to secure the flashing and enhance waterproofing.
- Tin snips: Necessary for cutting the flashing to the required size for a proper fit.
- Measuring tape: Accurate measurements are crucial for installation. Use a measuring tape to determine the dimensions of the chimney and flashing.
- Roofing nails and hammer: Attach the flashing to the roof using outdoor roofing nails and a hammer.
- Level: Ensure the flashing is installed correctly and level to prevent water leaks.
By having these tools on hand, you’ll be well-equipped for chimney flashing repair projects.
Regularly inspect and maintain your chimney flashing for long-lasting waterproofing performance.
Understanding Chimney Flashing
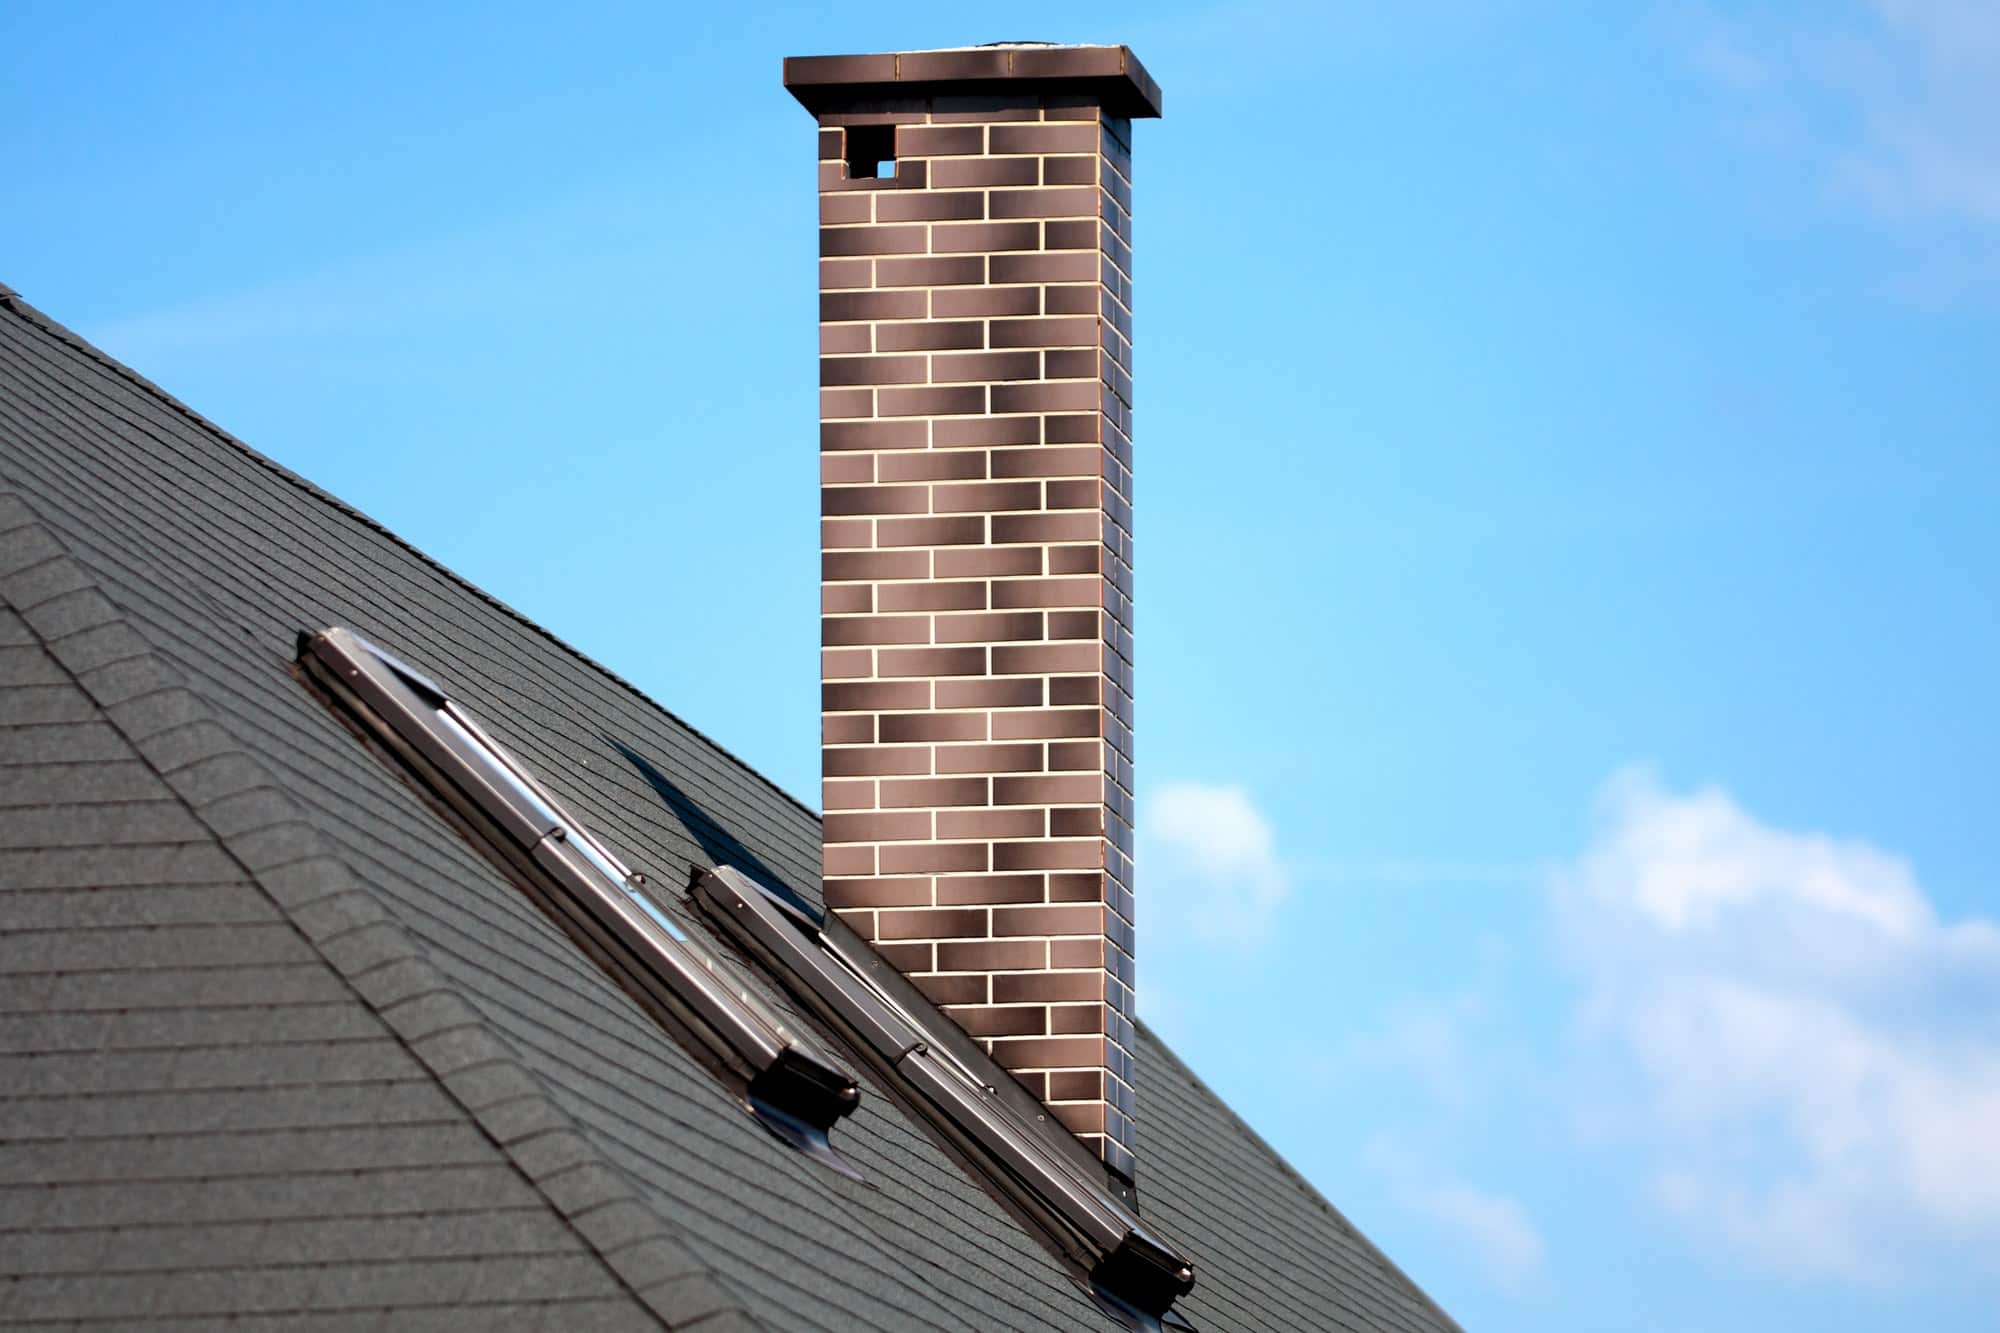
Chimney flashing is an important part of your roofing system as it prevents water from entering your property. It’s crucial to use waterproof materials, such as flexible fibers, sheet metals, or plastic, for flashing. Proper installation by a professional is essential to ensure a tight seal and avoid water leaks.
Chimney flashing is a type of roof flashing that creates a waterproof seal to protect your chimney and roof from water damage and penetration. Essentially, chimney flashing functions as weather stripping for your chimney and is made up of three major parts: step flashing, counter flashing—also called cap flashing—and base flashing.
Regular maintenance, including yearly inspections and addressing any damage promptly, helps preserve the condition of your chimney flashing and prevents water damage to your roof. Familiarize yourself with different flashing materials, ensure proper installation, and perform regular inspections to maintain a watertight roof and prolong the lifespan of your roofing system.
Causes of Chimney Flashing Failure
Causes of Chimney Flashing Failure:
-
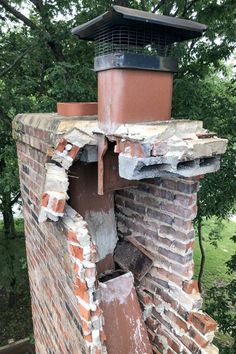
Flashing deterioration: Exposure to weather conditions like rain, snow, and UV rays can cause flashing materials to deteriorate over time, leading to cracks or pulling away from the chimney and allowing water to seep in.
-
Water damage: Failed flashing creates openings for water to enter the chimney, resulting in damage to surrounding materials like wood rot or mold growth. It can also cause leaks inside the house, leading to further property damage.
-
Incorrect installation: Improperly installed flashing can create gaps or loose areas where water can penetrate. This increases the risk of chimney flashing failure as it doesn’t provide adequate protection against water intrusion.
-
Tar sealant: Using tar as a sealant for flashing isn’t recommended. Tar can harden and crack over time, compromising the integrity of the flashing and making it more prone to failure.
To prevent further damage to your property, it’s important to address any issues with chimney flashing promptly. Regular inspections and maintenance can help identify and resolve potential problems before they escalate.
Identifying a Leaking Chimney Flashing
If water frequently enters your house through the chimney brick, it’s important to properly identify the source of the leak before attempting any repairs. While chimney flashing is a common culprit for leaks, there are other causes of chimney leaks as well, such as issues with the chimney cap, crown, or mortar joints in the bricks.
To determine if the flashing is the problem, you can perform a water test. Soak small sections of the chimney one at a time and observe if water enters the house. If water enters through the brick, then the flashing may not be the point of entry for the leak. In such cases, it’s recommended to consult a professional to identify and address the underlying issue.
Common materials used for chimney flashing include aluminum, copper, and galvanized steel. Regardless of the material chosen, proper installation techniques are crucial. This includes ensuring a tight fit between the flashing and the chimney and applying a waterproof sealant to prevent water infiltration.
Temporary repairs can be made using roofing tar or caulk if you suspect a problem with your chimney flashing. However, these repairs are only temporary and should be followed up with proper repairs to prevent further damage.
Regular chimney maintenance is important to prevent leaks and ensure the longevity of your flashing. This includes regular chimney inspections, cleaning, and addressing any issues promptly. By taking these steps, you can minimize the risk of chimney leaks and ensure the proper functioning of your chimney system.
Steps to Repair Leaky Chimney Flashing
To repair leaky chimney flashing, follow these steps:
-
Identify the source of the leak by checking for damaged or improperly installed flashing.
-
Clear away debris or dirt between the chimney and flashing before starting the repair.
-
Apply roofing cement behind the flashing to create a tight seal and prevent water from entering.
-
Reattach the flashing tightly using screws or masonry nails, and cover exposed screw heads or nails with roofing cement.
-
Use temporary fixes like flashing tape to cover small cracks or gaps until a permanent repair can be made.
-
Troubleshoot flashing issues by checking for loose or damaged sections and replace any damaged flashing.
-
Perform regular maintenance on the flashing to prevent future leaks.
Frequently Asked Questions
How Long Does Chimney Flashing Repair Typically Last?
Chimney flashing repair typically lasts 10-20 years due to weathering and improper installation. Signs of damage include water leaks and loose flashing. Hiring a professional ensures quality repair and long-lasting results. Cost varies depending on the extent of the damage.
Can I Use a Sealant Instead of Replacing the Flashing?
Yes, using a sealant instead of replacing the flashing is an option. However, it’s important to consider the effectiveness, pros and cons, potential risks, and alternative repair methods. Additionally, compare the cost of using a sealant versus replacing the flashing.
Are There Any Safety Precautions I Should Take When Repairing Chimney Flashing?
When repairing chimney flashing, prioritize safety by taking necessary precautions and wearing protective gear. Use proper tools and be aware of potential dangers. If unsure, consider seeking professional help.
Can I Repair the Chimney Flashing Myself if I Have No Experience in Roofing or Construction?
You can repair the chimney flashing yourself, even without experience in roofing or construction. Here’s a step-by-step guide to help you, including DIY techniques, common mistakes to avoid, and essential tools you’ll need. It’s important to note that hiring a professional also has its pros and cons.
Are There Any Alternative Materials I Can Use for Chimney Flashing Instead of Metal?
There are alternative materials that can be used for chimney flashing instead of metal. Consider the benefits of metal flashing, cost comparison, common installation mistakes, and maintenance tips.