


To make a chimney sweep broom, the key is to secure the bristles properly. You start by placing cardboard circles on them and layering the bristles in a staggered pattern.
This creates a sturdy broom like the one Mary Poppins uses. The secret to getting a full look is in the final touches you add to the broom.
Materials Needed for Chimney Sweep Broom
To make a chimney sweep broom, you’ll need a white handle from a dollar store and a Bella tree from Pier One Imports. The white handle is for the base, providing a strong foundation. The Bella tree will be perfect for the bristles, giving the broom a fancy yet classic look.
To put the broom together, you’ll need pliers and a glue gun. Use 4.5-inch cardboard circles to attach the bristles securely. These circles will support the bristles and help them keep their shape. Smaller, 3-inch circles will help keep the bristles neat and tidy.
Prepare Cardboard Circles With Bristles
To make the chimney sweep broom, glue cardboard circles together for the base. Chimney sweepers used bristle brooms to clean chimneys. Hide straw ends under the circles for a neat base. Put bristles between the circles for the broom head.
Use small cardboard pieces to secure bristles to the pole. Paint the tube the same color as the pole for a nice finish. Follow these steps to make a functional and traditional chimney sweep broom.
Glue Bristles in Staggered Pattern
To make the chimney sweep broom look full and realistic, glue the bristles in a staggered pattern on the cardboard circles. This will give the broom a dense and authentic appearance. Make sure to space the bristles evenly and attach them securely to the circles. Staggering the bristles adds volume and texture, making the broom more visually appealing.
Start by putting hot glue or strong adhesive on the base of each bristle and sticking them onto the cardboard circles in a staggered way. This helps prevent gaps and gives a natural look. Staggering the bristles not only improves the look of the broom but also makes it stronger.
Take your time to place the bristles correctly and glue them securely. The staggered pattern is important for the final look of your handmade chimney sweep broom.
Attach Bristle Piece to Small Circle
To attach the bristle casing to the small circle, follow these steps:
- Cut a square in the small circle.
- Glue the bristle casing onto the small circle.
- Make sure the bristle piece fits snugly in the square hole.
- Arrange the bristles in a staggered pattern for a full look.
- Use plenty of hot glue for durability.
Fill the top circle with bristles.
To make your chimney sweep broom look fuller, place the bristles in a staggered pattern on the top circle. This will give it a realistic and traditional appearance like the one in Mary Poppins.
Insert the bristles carefully to cover the entire area evenly. The staggered arrangement not only looks good but also provides better coverage for cleaning or decoration.
Your chimney sweep broom will look charming with a dense and well-distributed arrangement of bristles, similar to Mary Poppins’ iconic broom. Filling the top circle with bristles in this way will enhance the overall look of your handmade broom, making it a lovely addition to any space.
Secure Everything With Hot Glue
To attach the bristles securely to the cardboard circles, use a lot of hot glue. Hot glue sticks the bristles to the circles well. Here’s how to use hot glue effectively:
- Put hot glue evenly to stick the bristles and cardboard circles together.
- Use hot glue on all parts of the chimney sweep broom for strength.
- Hot glue dries fast, so it helps you finish quickly.
- Check that the bristles are firmly attached to the circles to avoid loose ends.
- By using hot glue properly, you make sure your chimney sweep broom lasts long and cleans your chimney well.
Cut and Paint the Handles
Sand the handles with sandpaper to make them smooth. Then, use a good wood paint to coat them for durability. This will make the handles look nice and protect them from getting damaged. Make sure to choose a paint made for wood to avoid it chipping or peeling off later. Putting on several layers of paint won’t only make the color look better but also keep the handles safe from wear and tear. You can also add some cool designs, like stripes or patterns, to make your chimney sweep broom unique.
Let the painted handles dry completely before putting the broom together. This will ensure that the paint sticks well and doesn’t smudge when you finish making the broom. By taking your time to paint and decorate the handles, you’ll end up with a broom that works well and looks great too.
Attach Handles to the complete broom.
To finish making the chimney sweep broom, use a glue gun to firmly attach the handles to the broom head. Make sure the handles line up properly with the bristles for a strong and balanced broom.
Press down firmly on the handles to create a secure bond that can withstand use. Let the glue dry completely before testing the broom to avoid any issues.
Check the handles for stability and make adjustments if needed before using the chimney sweep broom.
Frequently Asked Questions
How to Make a Chimney Brush?
To make a chimney brush, you need bristles and a handle. Attach the bristles firmly to the handle. Make sure they are securely connected. You can paint the handle if you like. Just follow these steps and you’ll have your chimney brush ready in no time!
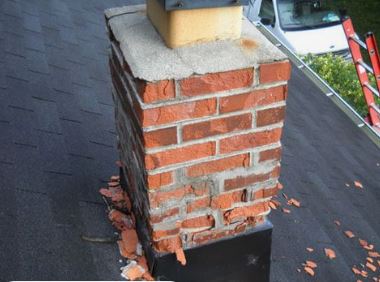
Why Was Chimney Sweeping Bad?
Chimney sweeping was dangerous for children who faced hazardous conditions, respiratory issues, and injuries. They were often exploited, abused, and lived in poor conditions due to a lack of regulations.
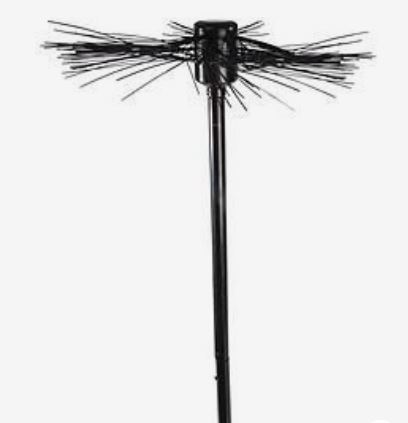
What Tools Do I Need to Be a Chimney Sweep?
To be a chimney sweep, you need a chimney brush, flexible rods, a vacuum with a HEPA filter, and a flashlight. These tools help you clean the chimney properly.
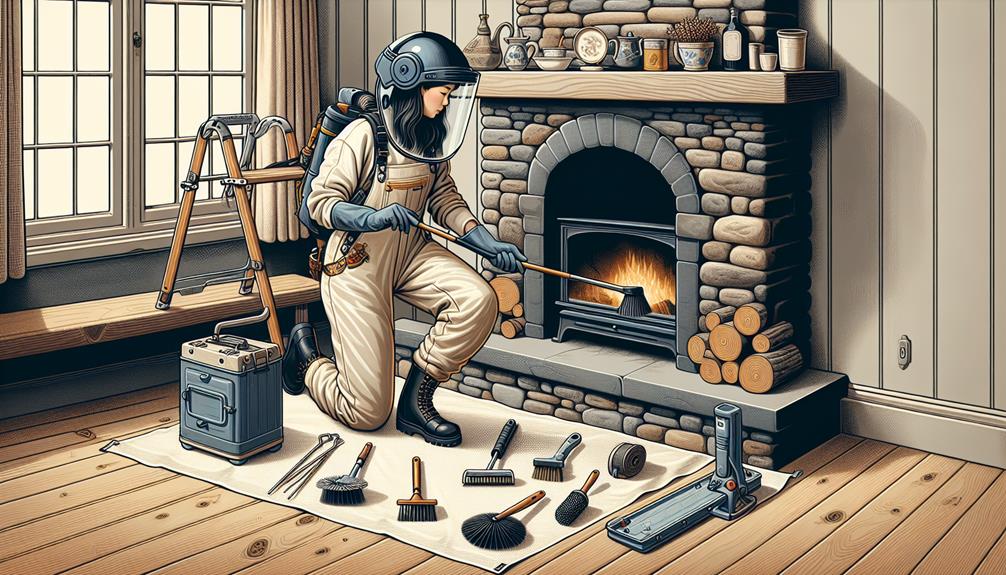
Is It OK to Sweep Your Own Chimney?
Yes, you can clean your chimney yourself if you know how and have the right tools. Make sure to get training for safety. For difficult chimneys, think about hiring a professional cleaner. Cleaning regularly helps prevent fires and keeps the air clean.
Conclusion
In simple terms, creating a chimney sweep broom can be a fun project to decorate your home. By following the steps mentioned earlier, you can make a strong and attractive broom similar to the one Mary Poppins uses.
So, gather your materials, start crafting, and enjoy making your own chimney sweep broom! Happy crafting!